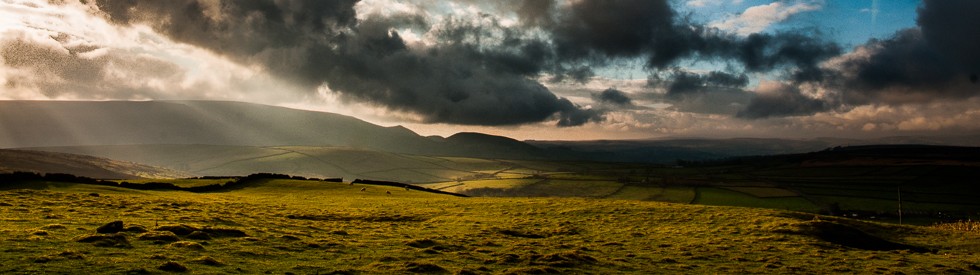
. . . . Sorry, I meant to say – Impressionist tulips! 🙂 More play time, last week I played around with HDR, and this week I played around with motion blur and paper textures to create a piece of digital art. I took a shot of a vase of tulips and by intentionally holding my camera at arm’s length and setting a three-second exposure I ensured plenty motion blur. I used LR5 to process the RAW file, increasing the highlights to blow the background and adjustment brushes with a negative Clarity value to further soften the image. I then used Photoshop CC to finish off and my layer stack is shown below the picture.

Water colour, tulips
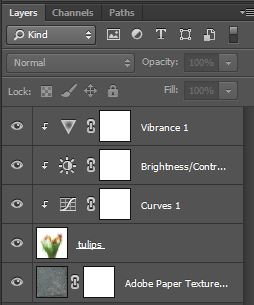
Layer stack
The “tulips” layer blend mode is set to ‘Overlay’, the Curves adjustment layer blend mode is set to ‘Luminosity’ to prevent colour shift when adding an ‘S’ curve and the top two adjustment layers are set to ‘Norma’l blend mode.

A lovely ‘impression’, Frank. It has qualities of a watercolour in the way the colours have bled. Worth experimenting with further, I would say.